Tuesday, September 15, 2015

*Best Loved* Slow-Cooked Apple Butter


Welcome to a recipe that pretty much sums up the kind of food I love, the rich flavors of the season, the way I want my house to smell, and the homemade coziness I want my blog to convey .....  

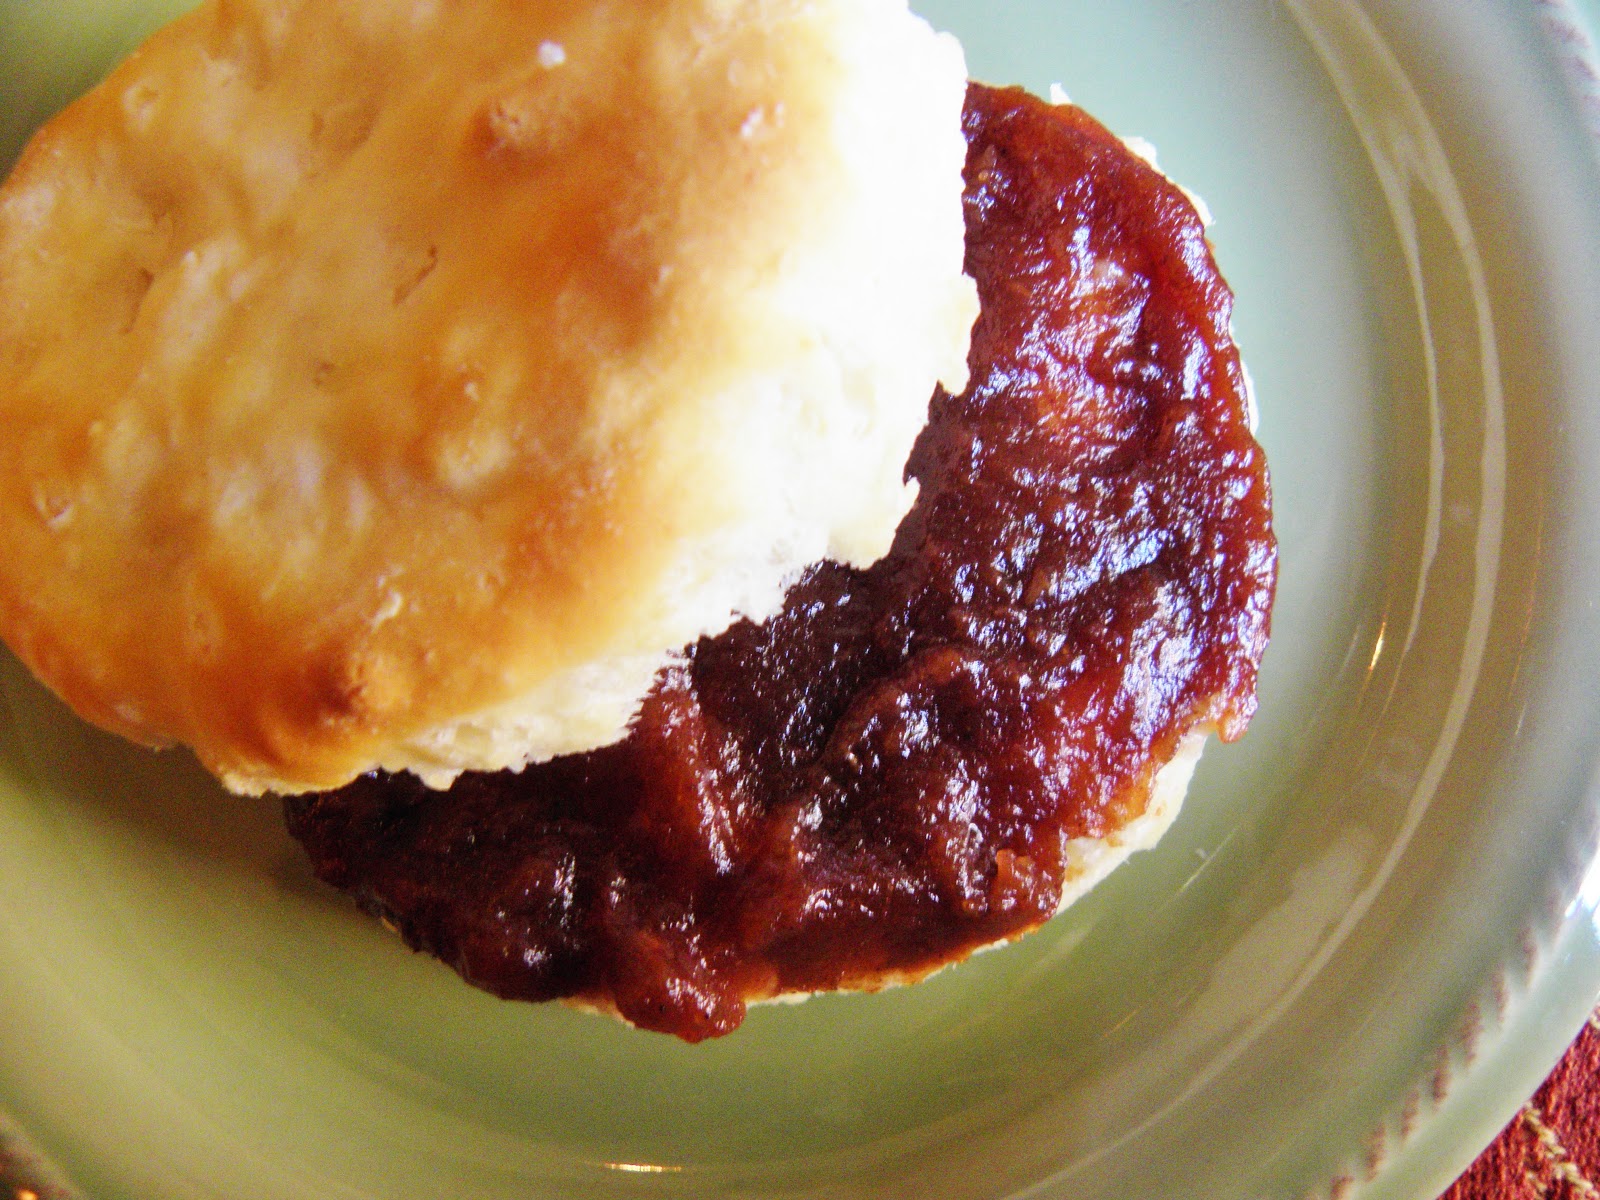
Homemade slow cooked apple butter.  

This stuff is wonderful!!!  I'm a country girl at heart, and I grew up in a house in the country with apple trees.  Picking the good ripe apples, throwing the fallen ones over for the cows to eat, and climbing the apple trees were just a part of my growing up!  Apples with cinnamon is a familiar scent, because mom baked so many apple crisps and crumbles and pies in the fall and now I do the same!  There is something about the smell of cooking apples with spice takes me away to a picturesque and safe place in my soul. :)

I love the taste of creamy apple butter, so when I found this recipe I knew I had to attempt making it.  I published this recipe 2 years ago at Inspired By Family, and I'm excited that I'm finally getting around to bringing it to my blog.

This was my first attempt at making this spread homemade, and it turned out more delicious than expected!  Making it in the slow cooker allowed the process to be a bit more relaxed than other canning I've done, and it also filled the house with a cozy aroma!  This homemade apple butter is an excellent gift for family or something good to eat on all winter long with a flaky biscuit and a steamy cup of coffee.  


Slow Cooked Apple Butter
Recipe from Cooking with K

1/2-1 cups Water or Apple Cider

8-10 Whole Apples (I used Gala) washed, cored, and chopped

1-2 cups Brown Sugar

2 teaspoons Cinnamon

1/8 teaspoons Ground Cloves

1/8 teaspoons Allspice

1/8 teaspoons Nutmeg

1/2 teaspoons Salt

 Chop all of the apple, only leaving the core.  I left the peel on for just a bit of texture and fiber.


Place apples in the slow cooker and add sugar and spices.  Stir to combine. 

Add the water or cider. 

(If using cider, you may not want to add as much sugar as you would with water.)


Set cooker on high and bring to a bubble. 

Then turn down to low and cook for 6-8 hours, stirring every couple of hours.  If it needs to cook down even more, leave the lid propped open for a while.

The apple butter is done when it has a very deep color, apples are cooked to pieces, and it has thickened. 

Use a hand blender or food processor to cream it all together until smooth.  I had success using a hand blender right in the pot.  Easy and nothing extra to clean.


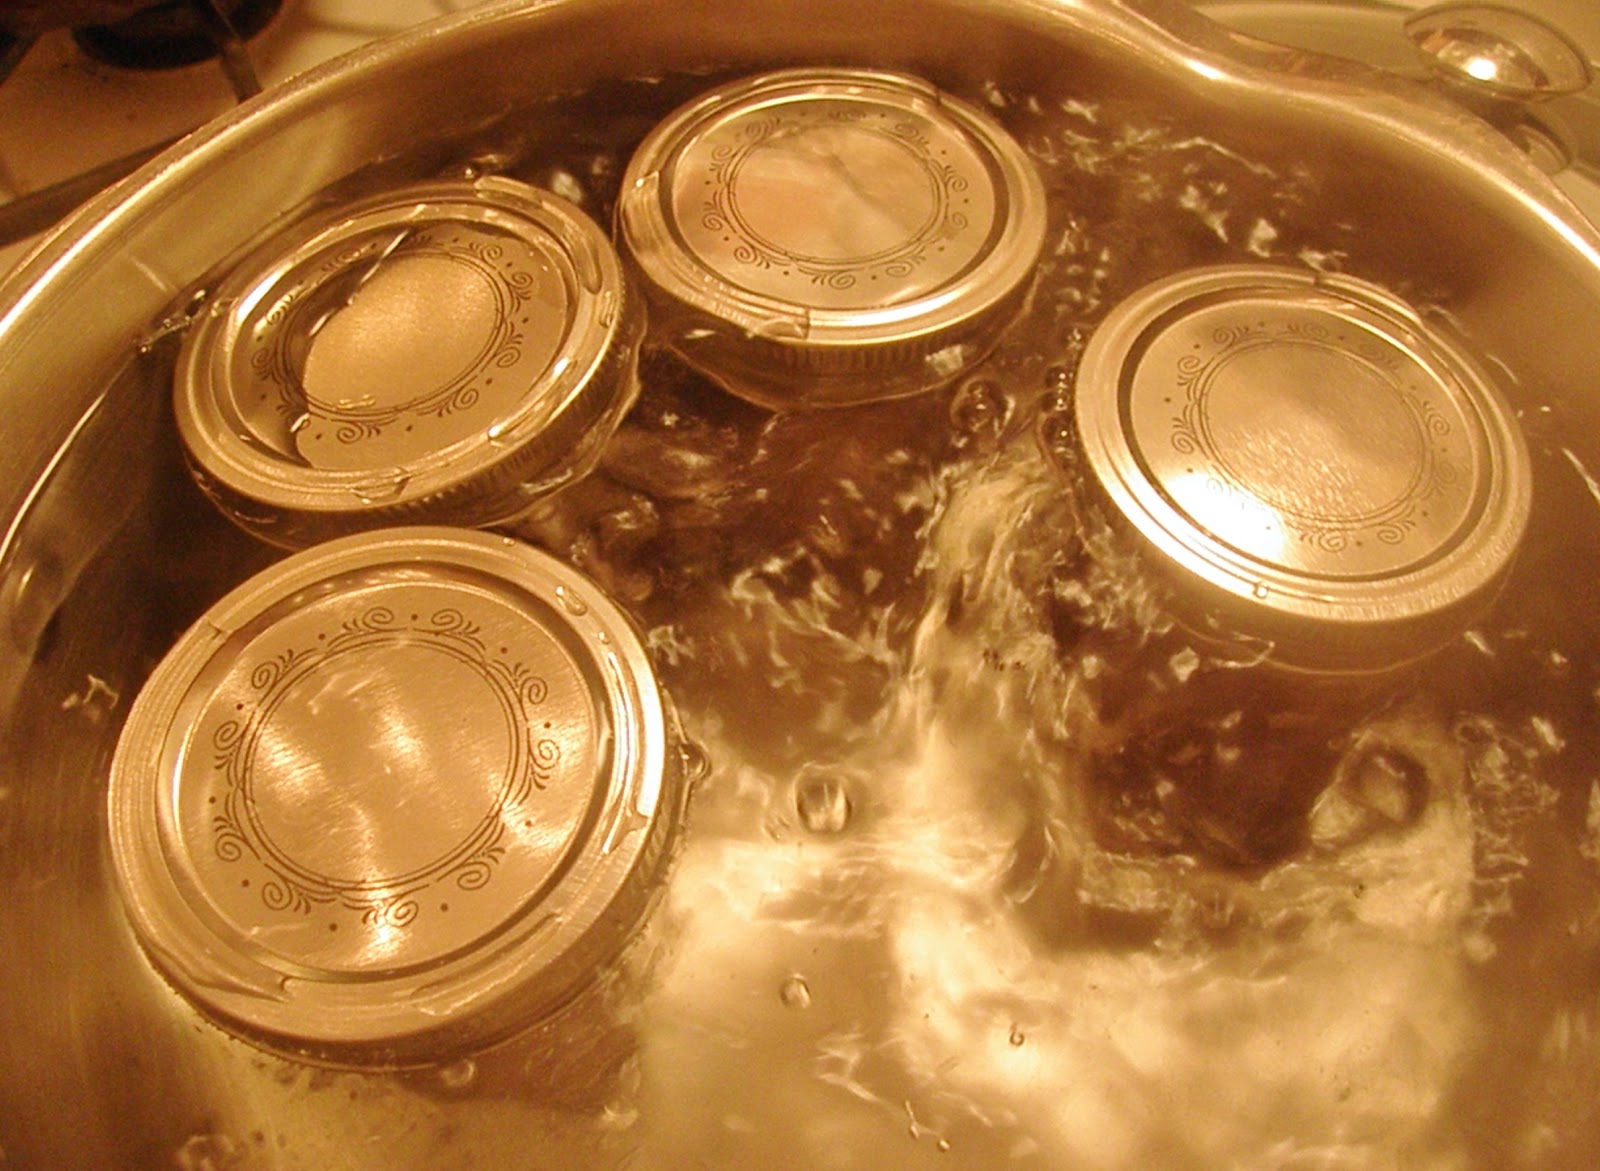
To can apple butter, you will need to buy jars and sterilize them in a boiling water bath or put in your dishwasher on "sterilize" setting.

To sterilize in a water bath, you will need to place a kitchen towel in the bottom of a sauce pot and fill halfway with water.  Turn jars upside down in the cold water and bring to a boil.  Boil over medium heat for 15 minutes.  Sterilize the jar lids, rings, and the end of your kitchen tongs in another pot the same way.  Never touch the inside of a jar or lid with your bare hands.  Use a tong for the lids and kitchen towel for the jars. 

Fill the jars to 1/2 inch from the top and take the end of a towel and dip in boiling water.  Wipe the rim of the jar very clean.  Place the lid onto the jar straight out of the water it was sterilized in, being careful not to touch it.  Take the tongs and get a ring.  You can place the ring with your hands to secure the jar.


When all of the jars are filled, place filled jars in a deep saucepan and boil over medium heat for 15 minutes.  Makes about 4 pints.


Remove and let cool on the counter over night. You know the jars have sealed with you hear the popping coming from the lids becoming vacuum tight once removed from the boiling water.  Store the jars of apple butter in the pantry, but if for some reason a jar doesn't seal properly, store in the fridge and use first. 


It won't last long!


The Perfect Autumnal Salad, Cape Cod Chop Salad with Maple Citrus Dressing


I'm genuinely tickled to share with you my all-time favorite salad!  It's chock full of delicious sweet and salty ingredients with a to-die-for easy homemade dressing!

First, I just have to say what a gorgeous week it has been around here in small-town Kentucky.  The last several days have had no summertime humidity and the skies have been clear blue like we usually see on October days.  Every night has been down-right chilly making for a perfectly brisk morning that just beckons me to my first cup of hot coffee and my fluffiest robe.

I've enjoyed some time at home by myself today as this is one of two days out of the week that both of our children are in school.  Usually I make sure parts of these days are filled with both productivity and some leisurely quiet time that I just don't have with my bustling family around.  I need time to reflect or do what I like to do, such as practicing piano and singing, or even listening to worship music. Micheal Buble, or Kenny G on Pandora with a good book.

You know, there are times for peace and stillness and times for a joyful noise and a loved-in house with messes and chaos.  I just try my best to have a little balance of both-- if possible.  :)

It's not always possible!


As you see above, I opened some windows and my patio sliding doors to allow a nice morning breeze to come in here across our family room. It was just enough to rustle my curtains and make me feel like the seasons are really turning!  It's invigorating to feel a rush of cool air around the home, but especially when the smell of fall candles are in the air. Awww, my happy place!


I also looked through this beautiful cookbook, Seasons In the South, my Grandmother has let me borrow.  Oh my, how I wish I could make every single recipe in here!!  The words are also inspiring about each season and what to look forward to.  I just starting the fall season, so I'm anxious to read what new recipes I'll decide to give a go!  I identify with the south greatly in my cooking style and lifestyle so I'm drawn to anything like this.

This recipe on the other hand isn't Southern, but too good not to love!  It's inspired by Ina Garten's Cape Cod salad in her cookbook (my fave) Barefoot Contessa, Back to Basics.  I've just about worn the pages of this cookbook out over the past 5 years, because I've honestly loved every recipe I've made from here.  This is only "recipe" I've made for a salad, but it's worth every effort!


I put my twist on this delightful salad and that's what I'm sharing with you today! My version of Cape Cod salad.  Of course, I had to add pecans instead of just walnuts because after all, I am a Southern girl.

The salad has a delicious base of spinach and romaine and is filled with things like granny smith apple, peppered bacon (just sprinkle bacon with pepper before baking), dried cranberries, pecans, and creamy goat cheese.  I added blueberries because I had them and they're beautiful in here, and I added homemade croutons. 


My husband never has gone on about a salad, except for this one!  That's why I surprised him with it today when he came home for lunch.  The salad dressing is one of our favorite parts because it's sweet and tangy, so don't leave it out!

Cape Cod salad would be a beautiful and impressive addition to your Sunday meal or just one it's own like we had today.  It pairs lovely with soup and is sure to please even the most hearty eater in your home!  Let me know what you think.


Cape Cod Chop Salad

8 oz. (about 6 slices) peppered bacon (Here is my favorite method to cook it.)
8 oz. (about 3 cups) your favorite greens, I use spinach and romaine or butter lettuce
1 large Granny Smith apple, diced
1/2 c. pecans, toasted and chopped roughly (To toast carefully heat over med-low in a skillet with stirring for 5-6 minutes)
1/3 dried cranberries
1/4 c. fresh blueberries
6 oz. goat cheese, crumbled (Ina used blue cheese)
Homemade Croutons (Chop any bread or bun and toss in a bowl with olive oil, salt, pepper, and garlic powder.  Bake in a dish on 375 F. for 12-18 minutes, stirring once.)


Maple Citrus Dressing

3 Tbsp. apple cider vinegar
1 tsp. grated orange zest
2 Tbsp. freshly squeezed orange juice (This is well worth the effort, although I've used regular orange juice before, too.)
2 1/2 tsp. Dijon mustard
2 Tbsp. pure maple syrup (If you don't have the real deal, treat yourself to it for the fall!)
1 Tbsp. green onion or chives, chopped
Sea salt
1/2 tsp. black pepper
2/3 c. extra virgin olive oil (I used about 1/2 cup instead.)


In a large bowl, put the chopped lettuce and spinach leaves, green apple, nuts, cranberries, blueberries, chopped bacon, croutons, and goat cheese.

For the dressing, whisk together the vinegar, orange zest and the next 6 ingredients in a medium bowl.  While whisking slowly add the olive oil until well incorporated.  You may have to whisk this again just before serving.

Pour most of the dressing over the salad and toss all together well.  I didn't use all the dressing, but it keeps well in a jar in the fridge for a week or so. 

Let everyone help themselves or serve individually as a beautiful presentation.  You may top it with extra cheese crumbles or green onion for garnish!


One more thing.....


Here is a little peak of our view beyond the salad and table at lunch.  Our yard is like a retreat for us to admire when we eat!  All of this green shall soon be replace with colorful leaves, so you'll be seeing more of that to come.

Blessings!

Thursday, September 10, 2015

Quiet Morning


My morning views over coffee are gorgeous in our new home.  It's times like this I don't want summer to end, so I can slip outside without bundling up. But you all know me, and I can find joys in every season!

The flowers are still beautiful here and the grass green, but I can tell the trees are beginning to show signs of fall being around the corner.


We have so many butterflies and hummingbirds coming by to enjoy our flowers, even as I write.


Our sweet ones are in school, so I just wanted to share with you what a lazy morning around here looks like. 

It's usually me sitting (with a yummy drink) on one of our patios soaking in God's beauty and the peaceful sounds that come with it.  If only for a few minutes I enjoy this time when I can!  

I also tend to hear God best when I take some time to just get quiet.


Looks like I just need someone to join me!

Y'all have a blessed day and take the time to savor the last of our summer season!

Wednesday, September 9, 2015

Late Summer Cherry Crisp


It's a cloudy day outside, my husband is off from work, and I thought it sounded like a good idea to make a big pot of potato soup!  Fall is around the corner, and that means soup season!  I've had some beautiful frozen cherries in the freezer I've been meaning to make a pie with over the last month, but time has gotten away.  As a last nod to summer, tonight I decided to make an easy cherry crisp packed with oats and brown sugar with a sweet cherry filling.

I found a recipe on Pinterest and made it my own, just the way I like to do it.  It's hard for me to leave any recipe without adapting my own version.  I added vanilla extract because I think it goes well with cherries, and I used old fashioned oats for a crunchier topping than quick cooking.  If you don't want to use cherries for this, you could certainly substitute some peaches, blackberries or even apples for a new crisp idea!  (I would add cinnamon  to the topping if using peaches or apples.)  Crisps are easy, unfussy desserts meant for the most casual nights.

This sweet girl is sure excited to help me out with the topping! 

I just snuck a little taste hot out of the oven and it's so delicious!!  It will be perfect with some vanilla ice cream or homemade whipped cream tonight.  I think this dessert will be one to make again very soon! 


Easy Cherry Crisp
Slightly adapted from: My Baking Addiction

1/2 c. old fashioned oats
1/2 c. plus 2 Tbsp. all purpose flour, divided
1/8 tsp. baking powder
1/8 tsp. baking soda
1/2 c. brown sugar, packed
1/4 c. butter, melted

Filling:
2-3 c. (about 1 1/2 bags) frozen pitted cherries
1/2 c. granulated sugar
1/2 tsp. vanilla extract

1. Preheat oven to 350 degrees F.
2.In another bowl, mix together the frozen cherries, sugar and vanilla
3. Spray baking dish or use butter as I did.  I used a large pie pan, but I definitely could've used a regular 9 inch one.  I think cobblers are pretty in pie pans, myslf.
4. Combine oats, 1/2 c. flour, baking powder, and baking soda together in a medium bowl.  Stir to combine.
5.  Add the brown sugar and melted butter to the flour mixture.  Mix well to form a delicious clumpy dough. (My daughter loved this part!)

6.  Pour the sweetened cherry mixture into the pan and sprinkle clumps of the topping all over.
7.  Bake for 35-40 minutes, until golden!